Isolating you subject is THE best way to control what your viewers see in a photograph, and the method most photographers use to achieve this is through depth of field.
Unfortunately for most point and shoots, DOF may not be as grand as that of their giant sized censored DSLR cousins. You may get your subject to "pop out" from the background, but don't expect creamy out of focus bokeh that giant SLRs with wide open apertures can produce.
While creating bokeh through your point and shoot may not be as grand, there are other ways to isolate your subject.
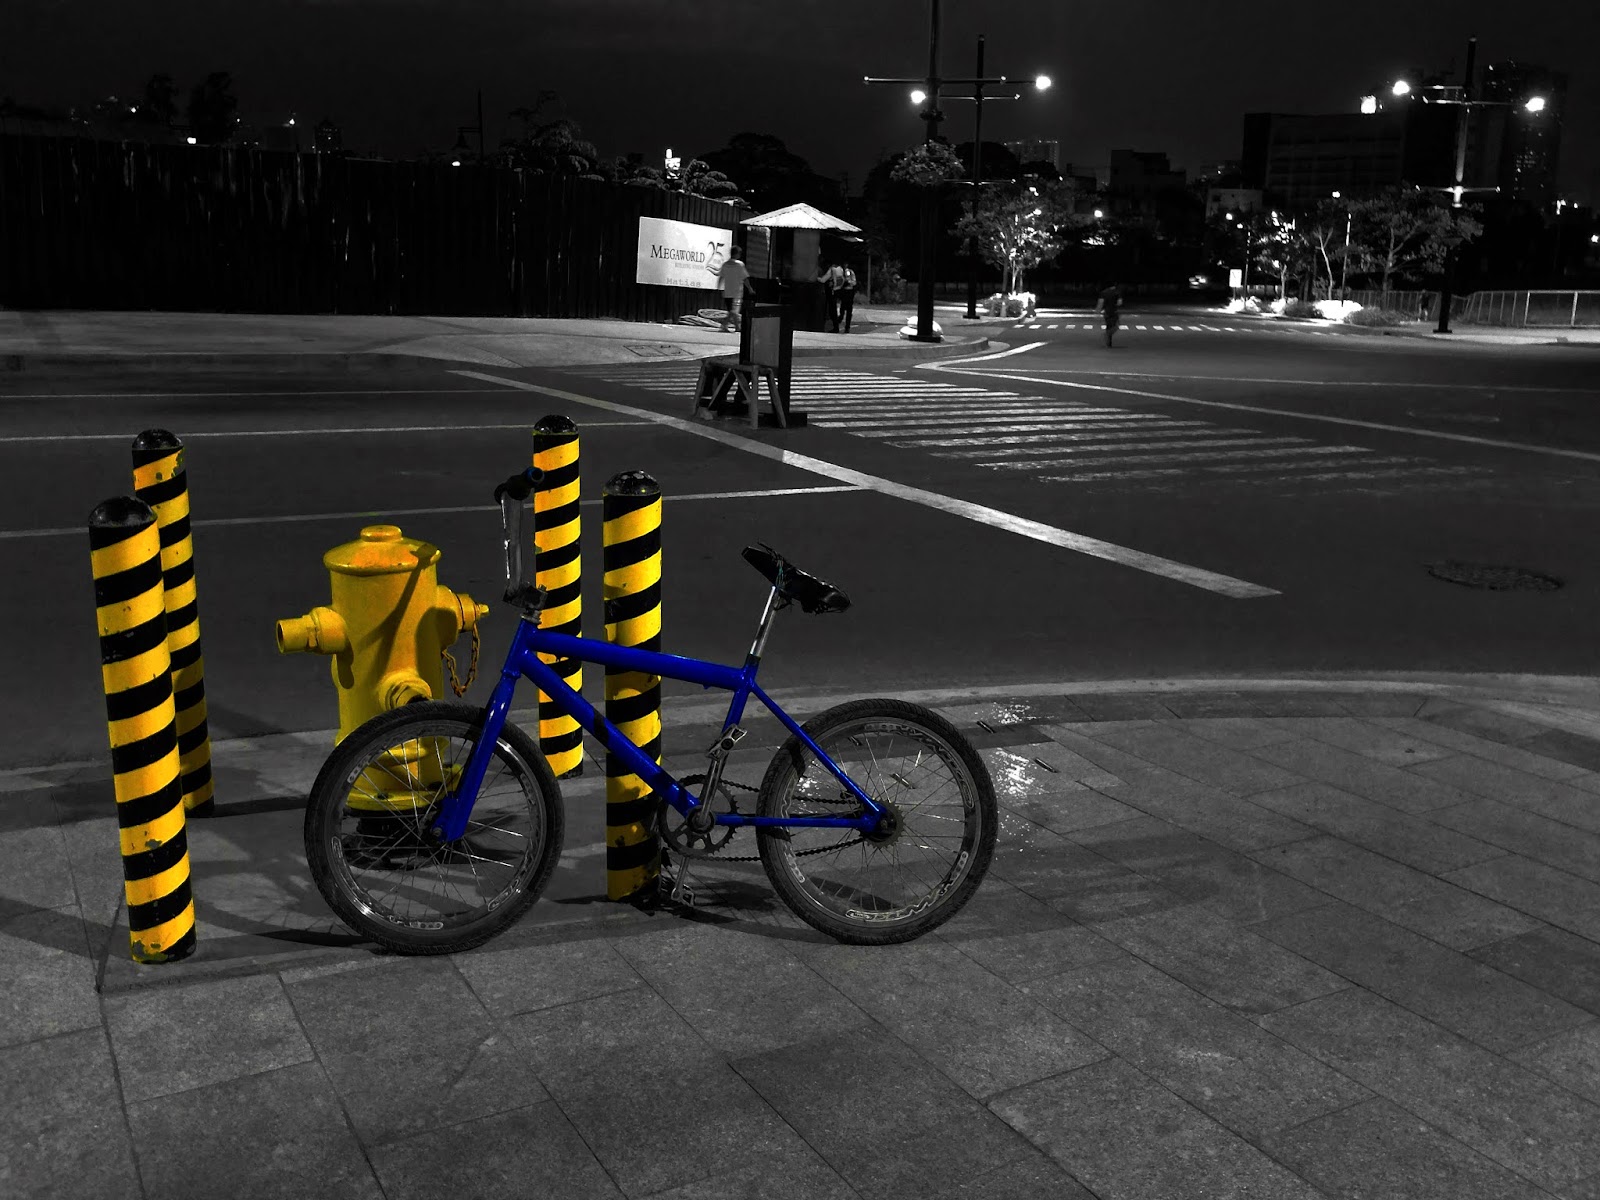
A few days ago, I tried the partial colour filter feature as a nifty way to isolate my subject. This feature which I once scoffed at as a mere gimmick, gave me an idea on how to create great photos from otherwise mundane ones.
Lots of cameras today, including point and shoots offer partial color filtering. These filters basically isolate a colour from your shot and renders everything else in black and white. These are usually special add-ons on cameras such as the Fujifilm X20's Adv. Filters where you can choose from red, orange, yellow, green, blue and purple.
The downside of this however, is that you may not be able to isolate your particular object of colour, as the scene may have more than one shade of it scattered around the picture. Some colours also "spill" so the reds and greens may be scattered across the scene when using the camera's in house partial colour feature.
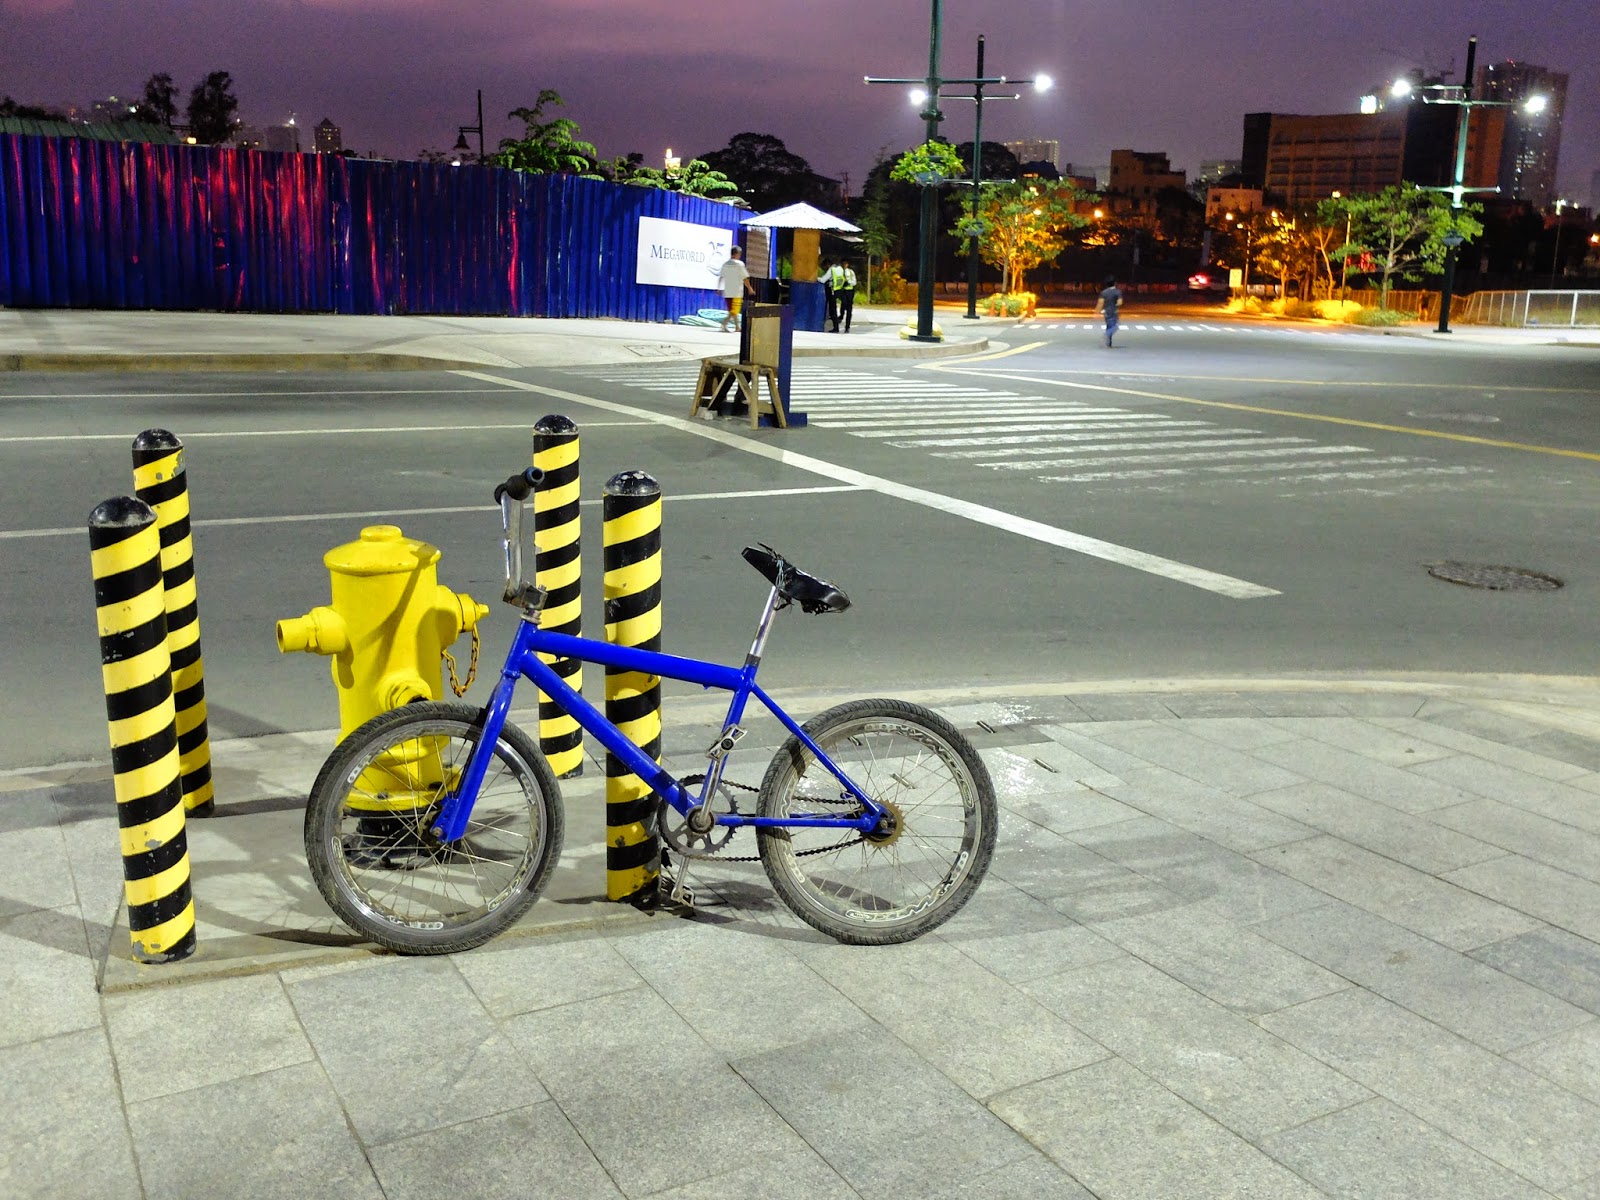
This is where post processing can come in. Using layer masks, I created my own partial colouring project. Below are a few photos together with the originals so you can judge for yourself:
 |
| Original Shot |
 |
| The darkened picture makes the colours more natural and not too cheesy |
Here are other shots with partial colour filtering in mind
 |
| Original Shot |


No comments:
Post a Comment