Wednesday, April 30, 2014

Why Go Full Auto in Photography

Automatic Settings. I heard countless forums claim that TRUE photographers forego the automatic settings altogether because if you are a TRUE photographer, you MUST know how to use your Full Manual.

This divide has drawn the line between what netizens deem as a photographer and your traditional run-of-the-mill camera wielding coffee shop snob who carries around his expensive camera as a conversation piece. 

I agree with the idea that anyone willing to take the plunge into photography SHOULD learn what their camera can do by maximising all settings to affect changes in a shot. But what is with all the beef about Full Auto Settings?

Camera manufactures nowadays are using this setting (or the lack of it) as a new marketing tool for their mid-level, pro-level brands.

The mentality nowadays is that a "mid-level" or "pro-level camera" doesn't need an auto function because the target market has outgrown the use of it, or never needed it in the first place. Any self-loving "pro" or "experienced" photographer  would rather die than be caught shooting Auto. It is a complex that many of us go through towards our maturation into photography adulthood.

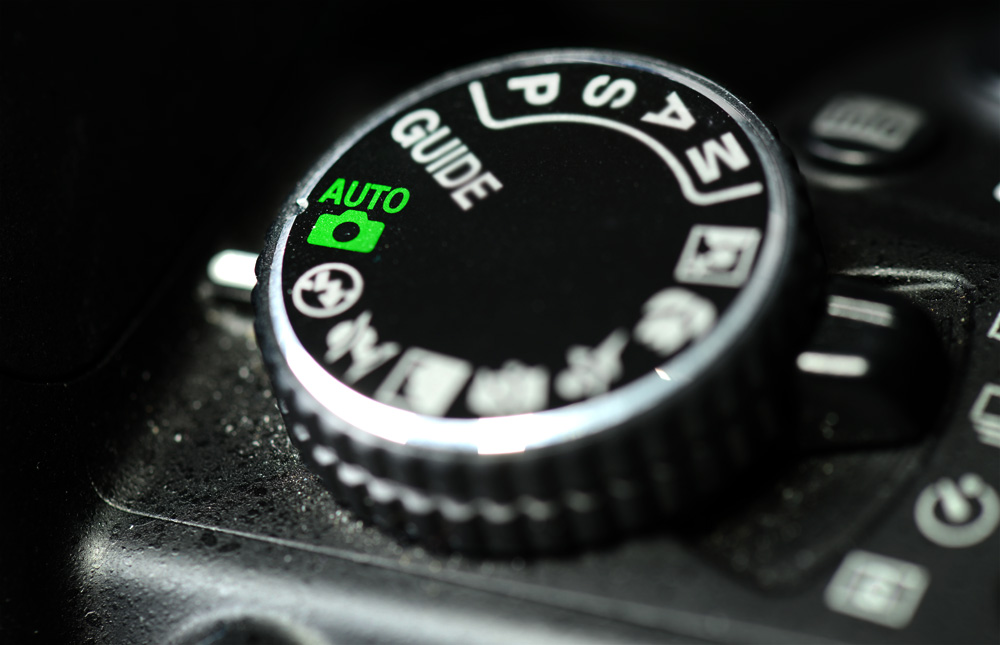
"You went Full Auto.
Never, go Full Auto" 


Here are 5 reasons why to go Full Auto 

1. When you need a picture of yourself and you're not doing the shooting.

So you purchase your brand new PRO-level-Auto-settings-is for-pussies-no-joke camera and start rocking the portrait world with crisp images and out-of-focus backgrounds.


You're having so much fun that you want to capture the moment with you in it and ask your subject to take a picture of you with your bazooka-sized photo capturing machine.

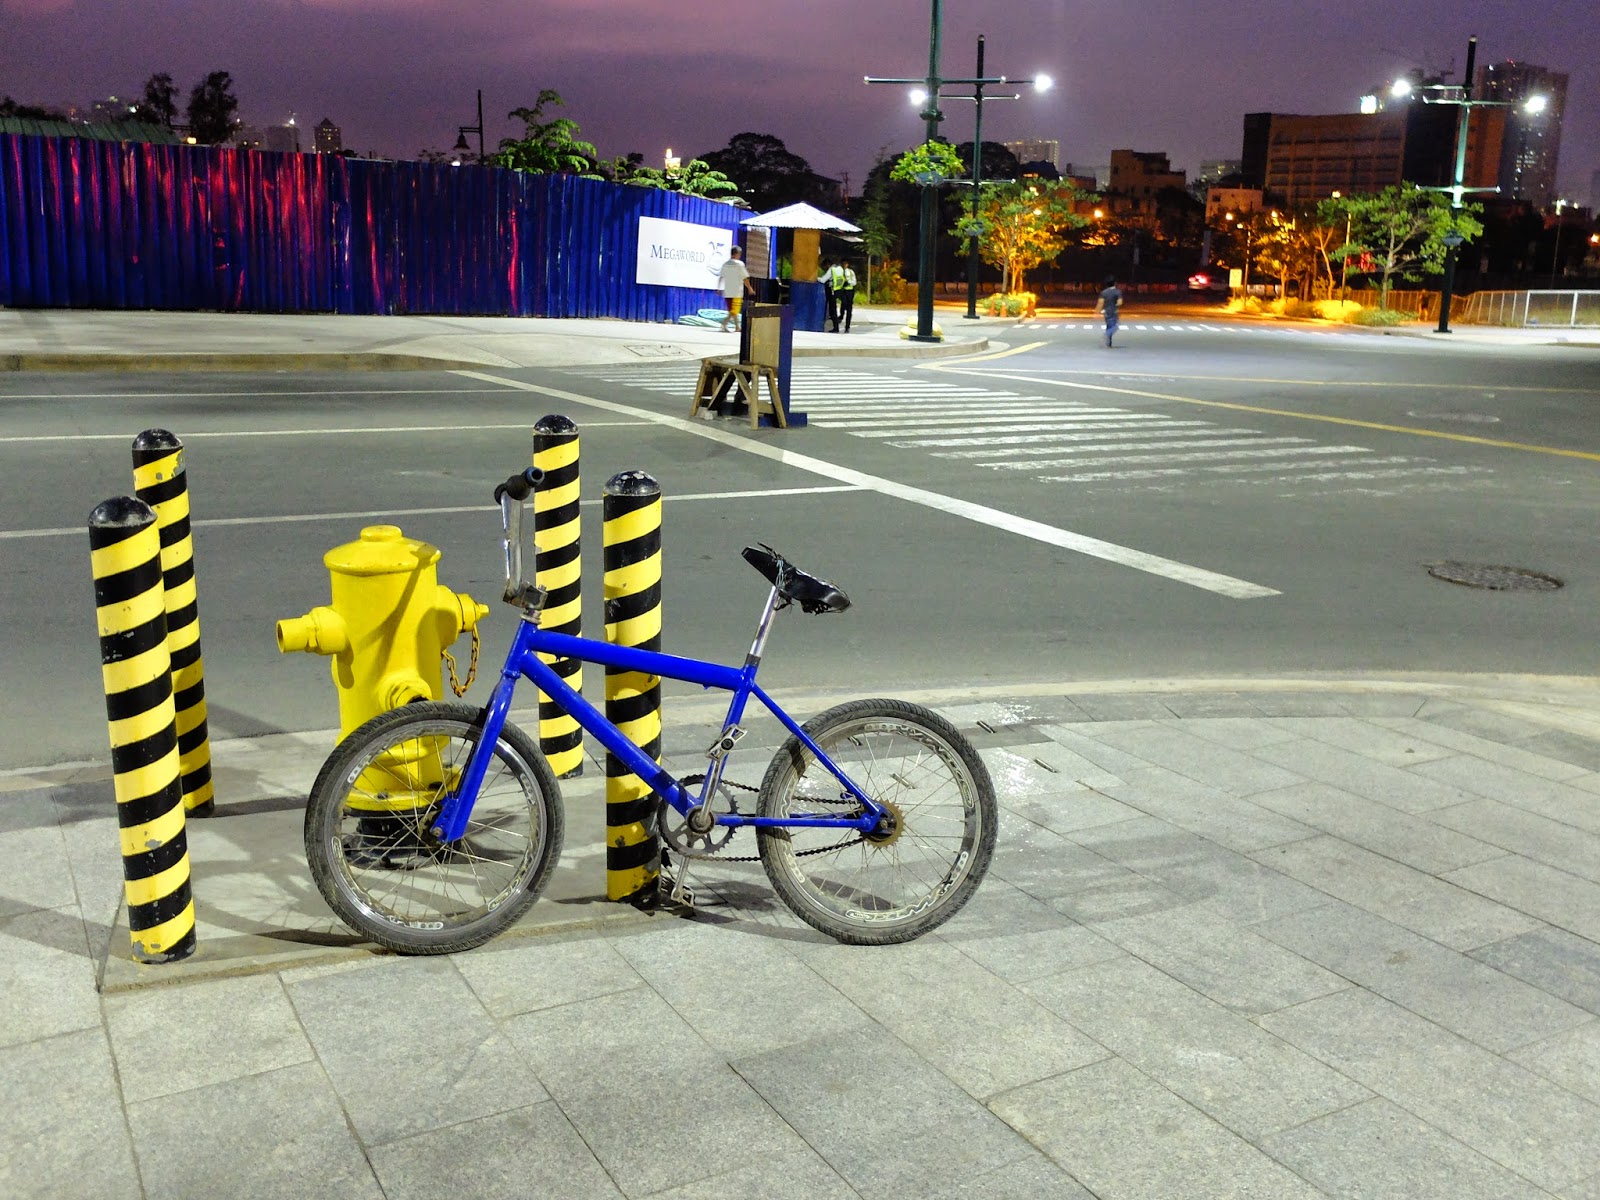
And like any bazooka smothers you with 75 megapixels of "out-of-focus" 

switching your camera to auto  is the best way to get great pictures from people holding your camera. Face it. when you ask a person to take your picture, whether he be your model, security guard, waiter, mascot or even your tour guide, odds are he doesn't know how to operate your camera and has little interested in capturing an upload-worthy photo of you.


2. Auto gives you a safety net 
As mentioned in a previous post, light can be a tricky thing to deal with. It's either there or not, and when it is, it's usually on all the wrong places. Full Auto can save you a few disasters by serving as a safety net for these tricky situations.

If you aren't 100% sure of the shot you took. take 1 or 2 in auto before you leave. That way, you can rest assured that you have taken an evenly lighted image as seen by your camera's IQ, which leads us to;

3 Understand your Camera's IQ
Camera IQ can be defined as the way its manufacturers program how the camera it measures light and sharpness and what should be in focus. Full Auto gives the camera the most freedom to decide on how to take the shot in a frame.

Putting a Camera in full auto is the closest thing we have to making the camera a sentient being, which is probably why many "PRO" photographers fear it so much.

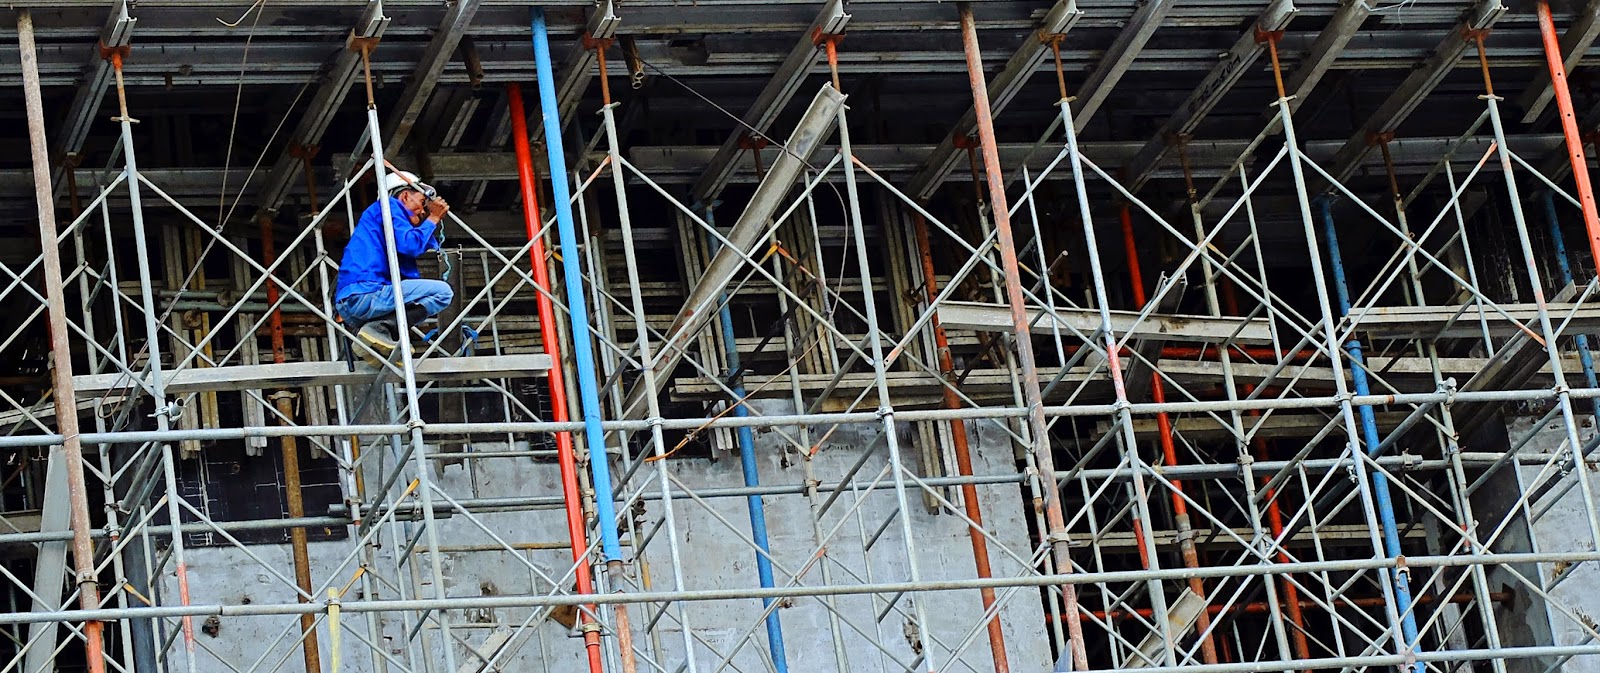
The moment humanity ended and Skynet took over

The best way to understand your camera is to know how it thinks. and putting it on auto will give you an idea of how it interprets scene after scene. You can learn a lot from looking at full-auto shots from your camera which could save you a whole photo album of camera disasters in the future.

Each camera handles differently because of difference in their IQ. With a few shots on auto, you get a firm idea of how the camera "thinks" and you can make adjustments to them accordingly when shooting Manual.

4 When you absolutely need to capture that moment
So you were assigned to photograph a war and you find the perfect frame of a man pointing am AK47 at your direction. You bring out your camera and what do you do next? Do meter the light? should you go all shutter priority on him or is background blur better for this instance?

Okay, realistically speaking, how many of us will photograph a war, or even try to quickdraw an AK47 with a camera. The point here is that these moments can see full auto as the best choice when having to capture a fleeting moment.

The best shots present themselves  at the worse times. If you are like some of us normal folk, we don't always strap on our camera and prowl the streets as we walk to work. When a shot presents itself, we have a limited time to react and prepare. Sometimes, the only option you have is to pull out your camera from your bag, switch in on auto and then take that shot.

If you have more time after that, feel free to go all manual on the moment with the assurance that you got one safety shot


5 A convenient benchmark for your shot

We often begin our road in photography copying shots we see. We draw inspiration from the best works of art until we eventually forge our own identity. This is not utter plagiarism but a mere form of benchmarking to measure how far we have come.

It's not plagiarism, I was merely benchmarking

Starting out, you can set your own benchmark based on your camera's IQ. By comparing your shots done manually with one done at full auto, beginners, or even seasoned veterans with a brand new camera can measure their shots compared with how their camera sees the world.

When I began starting out in photography, I often checked the difference between a full auto shot and a manual shot to see how far I was in terms of the camera's IQ so that I can eventually exceed it. There is no better feeling than knowing that you have full control over your camera giving you the authority to impose your will on your camera and not the other way around.


A real seasoned photographer knows how to use the tools that are given to him and full auto should not be seen as a hindrance, but more of a feature that can be used when the situation calls for it.  

Saturday, April 26, 2014

Partial Colouring Inspired Photos

Isolating you subject is THE best way to control what your viewers see in a photograph, and the method most photographers use to achieve this is through  depth of field.

Unfortunately for most point and shoots, DOF may not be as grand as that of their giant sized censored DSLR cousins. You may get your subject to "pop out" from the background, but don't expect creamy out of focus bokeh that giant SLRs with wide open apertures can produce.

While creating bokeh through your point and shoot may not be as grand, there are other ways to isolate your subject.

A few days ago, I tried the partial colour filter feature as a nifty way to isolate my subject. This feature which I once scoffed at as a mere gimmick, gave me an idea on how to create great photos from otherwise mundane ones.

Lots of cameras today, including point and shoots offer partial color filtering. These filters basically isolate a colour from your shot and renders everything else in black and white. These are usually special add-ons on cameras such as the Fujifilm X20's Adv. Filters where you can choose from red, orange, yellow, green, blue and purple.

The downside of this however, is that you may not be able to isolate your particular object of colour, as the scene may have more than one shade of it scattered around the picture. Some colours also "spill" so the reds and greens may be scattered across the scene when using the camera's in house partial colour feature.

This is where post processing can come in.  Using layer masks, I created my own partial colouring project. Below are a few photos together with the originals so you can judge for yourself:


Original Shot
Partial color
The darkened picture makes the colours more natural and not too cheesy

Here are other shots with partial colour filtering in mind


Original Shot


Partial color blue
The edited shot put more highlight on the person between the bars

Original Shot

Partial Coloring
Edited photo was also cropped to make the subject off-venter

Original Shot

Partial Coloring Red Yellow Blue
Since I was already editing the shot, I took the liberty of adding a little blur at the background. I'm guilty of cheating blur here


Original Shot

Subtle Colors, partial coloring, image isolation
Desaturated photo but not completely monochrome giving it a more subtle partial colouring effect


The last photo, though not completely monochrome, was desaturated a bit to make my subject pop out. The problem with partial colouring is that it can get old pretty quick if you always use it. Think of it as sugar in a recipe of photos. A little will sweeten the finished product, but too much might give you diabetes.

What are your thoughts on partial colouring? Are they witty gimmicks manufacturers add to cameras? or can they be used as serious tools for serious photographers? you decide.

Thursday, April 24, 2014

The Holy Trinity of Camera Settings

More often than not, beginners think of the latest expensive camera as the Excalibur of picture taking, endowing you with godlike capabilities to produce clear, vibrant and stone-cutting sharpness throughout your photos with the press of the shutter button. Anyone though, who first held up an SLR and shot with it for the first time would attest to this initial disappointment. 

After the initial disappointment, you realise that your thousand/s dollar/s camera will not instantly produce blazing, rainbow popping  photos at the push of the shutter  button, you are forced to learn what you did wrong.

Most of beginner photographers' first shot with their brand new all-manual camera would look a little bit like this:

My first shot with my $ XX,XXX camera was an ambitious take on shooting the abysmal darkness of the world around me.

The irony is with cameras, the more expensive they are, the more likely you have to work on taking a picture.

Contrary to what you may have thought, your new expensive (yes, all DSLRs are expensive) DSLR is not the Excalibur. It cannot grant you the Kingdom of Camelot simply from pulling it from the stone,  and simply waving it around for people to see will more likely get you robbed (or stoned) han respected.

A camera is not your excalibur, it doesn't emanate an aura that automatically makes you a better photographer. To me, seeing a camera as a sword is a misinterpretation. (Unless you're into super macro where the blunt side of the lens smashes right into your subject)

If you must compare your camera to a weapon as dictated by your testosterone fuelled (more likely MMORPG fuelled) manliness, Compare it to a bow.

"I steal from the rich to fund my photography hobby"

A bow, like a camera, can come in many shapes and forms. Some make arrow-shooting easier and has more features than standard bows, which is why they may also cost more than your standard bow. 
Regardless of what bow you have however, you wouldn't hit the broad side of the barn unless you learn how to aim, calculate wind speed and know how far you are from your target. 

Photography is similar to that in the sense that you have to factor in different elements to predict the desired outcome.  

Not all of these elements though are under your control. Natural light for example can be one thing you have to compromise with unless you're Christopher Reeve from Superman 2.

Come to think of it, He could have just gone all Terminator on Lex Luther.


What Can you Control?

There are countless things you can control with a full manual camera depending on the model. Technology is ever evolving and things that would require hour's of post processing years ago can be done in the flick of a button in your new handy $x,xxx camera

All photographers however, should know the holy trinity of settings; shutter speed, aperture and ISO.  Knowing these three settings alone can already move you up in the path of likes from my online friends.

There are countless descriptions of these settings online but if you are one of the unlucky people to stumble unto this blog, here is a short description for each of these settings.

Shutter Speed:
The speed at which a camera takes a picture. I won't go all that technical into this but think of the camera's shutter as your eye and the shutter speed controls how long your eye stays open before they blink.

A fast shutter speed will "freeze" motion while a slower one will blur it out. get your shutter speed slow enough and you just might even remove moving objects from the scene entirely.

Aperture:
Aperture controls the level of sharpness an image is. A large aperture (small number) gives you a smaller part of an object in focus while a smaller aperture will give you a shot what is more in focus throughout the picture.


     The hazy motorbike rider is a testament to the Aperture 2.0 


Aperture f11 sharpens even the background


ISO: 
ISO is the third in the trinity of settings that every would-be shooter should have. Prior to digital, the only way to change ISO was to change your entire roll of film. Thankfully, now we have the convenience of changing our ISO's after every shot without it burning a hole in our pockets.

ISO basically controls your camera's sensitivity to light. A low ISO makes the camera less sensitive to light limiting the amount of light that can be captured, and a high ISO makes it more sensitive allowing it to capture more light.

So why not just use a high ISO throughout your entire photo shoot? Simply put, the higher ISO you use, the more noise you get.

The camera advertised up to ISO 800,000 


Noise in a picture can mean many things. but most often noise is classified by the amount of grain a picture has.

ISO basically bumps up your camera's ability to take pictures in low light with the cost of increasing noise to the photo. Think of a guitar amplifier being brought up to its highest volume, You can hear it better, but the sound ends up being distorted and in effect "noisier"

The rule of thumb is of the three settings you have, ISO is your last resort. Unless you intentionaly add grain or noise as part of your picture, it is best to keep this as low as you can possibly go.

Some people however take this too far and force themselves to picture at their lowest ISO at all times.  That would be defeating the purpose of these three settings. A little noise would be better than blurry faces.


Below is a chart from exposureguide.com that might just simplify everything I said into one image. But if you got it till the end of this, you must have enjoyed the ride of blabbering.


For them however, it is the Tri Force of Camera Settings

IN SUMMARY
These three settings will get you a long way in your walk to the online haven of likes and shares that may very well bring you close to the justification of why you spent that much for a camera. The beauty of starting out is that you are free to make mistakes, these mistakes help you become better in the long run. And, please use your camera to shoot, its a camera for God's sake not a bloody necklace.


To close this post,  here are some legendary bows you can name your camera, because well, like I said, it ain't no sword.

Brahmastra - Ancient Bow believed to have no counter-attack nor defence against it. It never missed its mark and could annihilate a whole army. - great stuff 

Eaglehorn - Gives a big Agility boost to DOTA characters as well as a nifty Diablo 2 Bow. (Yes, I am still stuck with Diablo 2.

Artemis - Though not the Actual name of a bow, Artemis is the goddess of the hunt, and was associated with the bow as one of her symbols. 

Lothlorien - One of the bows carried by Legolas in Lord of the Rings

Narayanastra - Vishnu's Bow that could fire millions of arrows simultaneously. - Talk about frames per second


Saturday, April 12, 2014

Holy Vigil or Haunting Grounds: The Diplomat Hotel


With the Holyweek fast approaching, many choose to go on travel vigils, or simply visit their hometowns to spend time with their family, making the country's Capital a ghost town, devoid of traffic; a sight rarely experienced in what is otherwise known as one of the worlds most congested cities. 

For those of you who choose to travel to the highlands of Baguio, the Diplomat Hotel is an interesting must-see, whether you are there for a holy vigil or on the search for a paranormal experience, this hotel may offer one or both to you.  

The diplomat hotel, has surprisingly to this day become a tourist attraction to many outside Baguio primarily for its “Paranormal” characteristics. “totoo ba kuya?” (is it true?) is the first statement that came upon me after exiting the hotel through its main gate. Giving them the benefit of the doubt, I responded with a simple “and alin?” (what do you mean?) the persistence of the tourists was too much for me to handle. For which simple query every touristy already has an answer they expect local people to respond; “Oo, totoo” (yes, it is true). 


We all one way or another want to believe in the existence of things that are beyond our logical comprehension of things. Ghosts are no exception to that either. 


History can do many things to many places, but sometimes one of the most unforgivable things that could happen to a place is when it is remembered for what it was last rather than what it was first. Before it was known as the Dipolmat Hotel, notorious to be filled to the brim with ghosts from top to bottom, it was a popular rest house for priests. 


Constructed in 1911, the place was the original location for the members of the Dominican Order to construct a rest house, thus its name Dominican Hill. 


Any reference that would point to ghosts within the area would begin probably during World War II and the liberation where it was rumored that refugees had to be bombed out of the structure. 


The place also has a history of the paranormal. The Idea of Psychic Healing is a concept believed to have part of its origin in the Philippines in the early 40s. At the height of its belief in the 1970s, the place was named Diplomat hotel. The hotel was a go-to place for people in search of faith healing. The practice eventually died out with the faith healer’s death and so did the operation of the Hotel. 


In the case of whether the place is haunted or not is an answer left only for the reader. But one should be reminded that when visiting the place for the sole purpose of looking for ghosts, one may end up disappointed. Remember that there is more to life than just looking for the dead.


Recognized by the Guiness book of world records as the biggest 10 commandments stone tablet is a testament to the Filipino commitment to Christian Faith   
The sun setting along the horizon gives the place a beautiful rust-like look

Three Crosses, one old, and two modern.

Diplomat by the moonlight


Contrary to its infamy for being one of the most haunted places in the city, Diplomat is still a sight to behold. Its rooftop is a popular sight for weeding pictorials


Homes of Christian Faith

The Philippines is known as the largest christian nation in Asia with over 90% of its population claiming membership to the faith. It is the fifth biggest Christian nation in the world, which is a big thing considering the country's size. 

Christianity was brought about to the country by the Spanish friars in the 1500's in Cebu by Magellan, a Spaniard known the world over in countless history books as a great navigator following only closely to the popularity of Christopher Columbus.

When I say popularity here,  mean textbook popularity so haters please find something else to flame about. Whether you liked them or not, when the words ancient navigator  or  discoverer of worlds came about, you hear these two names. (Even if they both found these new worlds by essentially getting lost).

Short history lesson aside, the country's embrace to Christianity, can be traced all the way back to the 300 years of Spanish Rule.  

This can be seen in the structures, both old and new around the country that has been preserved to serve as a reminder of their converted faith. 

I'll be doing a separate segment on some of these structures in the future.

                                                                                                             - Grim


A Cross from the Diplomat Hotel in Baguio City

The Diplomat Hotel in Baguio City


Paoay Church, Ilocos Sur


Not Another Photo Blog Project

Its 1:25 in the morning, a mildly hot and dark day. The kind of moment where you are either dreaming of whatever fantasies you have that would later come along and dissolve as you return to the waking world, or one when you have that middle of the night moment.


That moment when you feel that on the unholiest of hours your brain starts chugging elaborate ideas and thoughts one after the other that you feel like you are in the midst of your own renaissance. Some dismiss this feeling as a sign of fatigue, of restlessness or even regret for not not having that comeback line that would make you the winner of that argument hands down.


And others well I guess put up a blog.

This is a  result of that restlessness. An attempt to revive my hibernating blog and once more breath life into it. Though I have never had a good track record at maintaining blogs in a religious manner, I have gotten by through moments of inspiration during the dead of night. and mostly by pursuing this as a means of productive procrastination.

1:35AM I am amazed with myself in what I can write in the span of ten minutes. (Through editing and rereading what I wrote might very well push me to recant that claim).


1:43 AM After a short break I feel a loss of words and ideas as if they have all taken their digestive course through my brain and ended up somewhere I can no longer find. It will return. 

This is the Genesis of Point and Shoot; a blog that is supposed to be more pictures than words. But like all of my plans, I seek them with illusions of grandeur, that maybe one day, this electronic document will serve as a historical artifact to future people (or conquering aliens) on how this measly blog came about and so, here it is- the beginning of how this came to be.       

                                                                                                                      - Grim